You might be wondering what to expect – how big the delivery will be, what’s packed inside, or how it all comes together to create your new favourite outdoor space. That moment when your Hypedome arrives is both exciting and a bit mysterious. What you’ve got in front of you is a well-thought-out geodesic dome kit designed for a self-build. Yep, no contractors needed – just a bit of time, some curiosity, and ideally a few helping hands. Let’s take a look at what’s actually inside the boxes and how to set yourself up for a smooth start.
Hypedome - What’s Inside the Boxes?
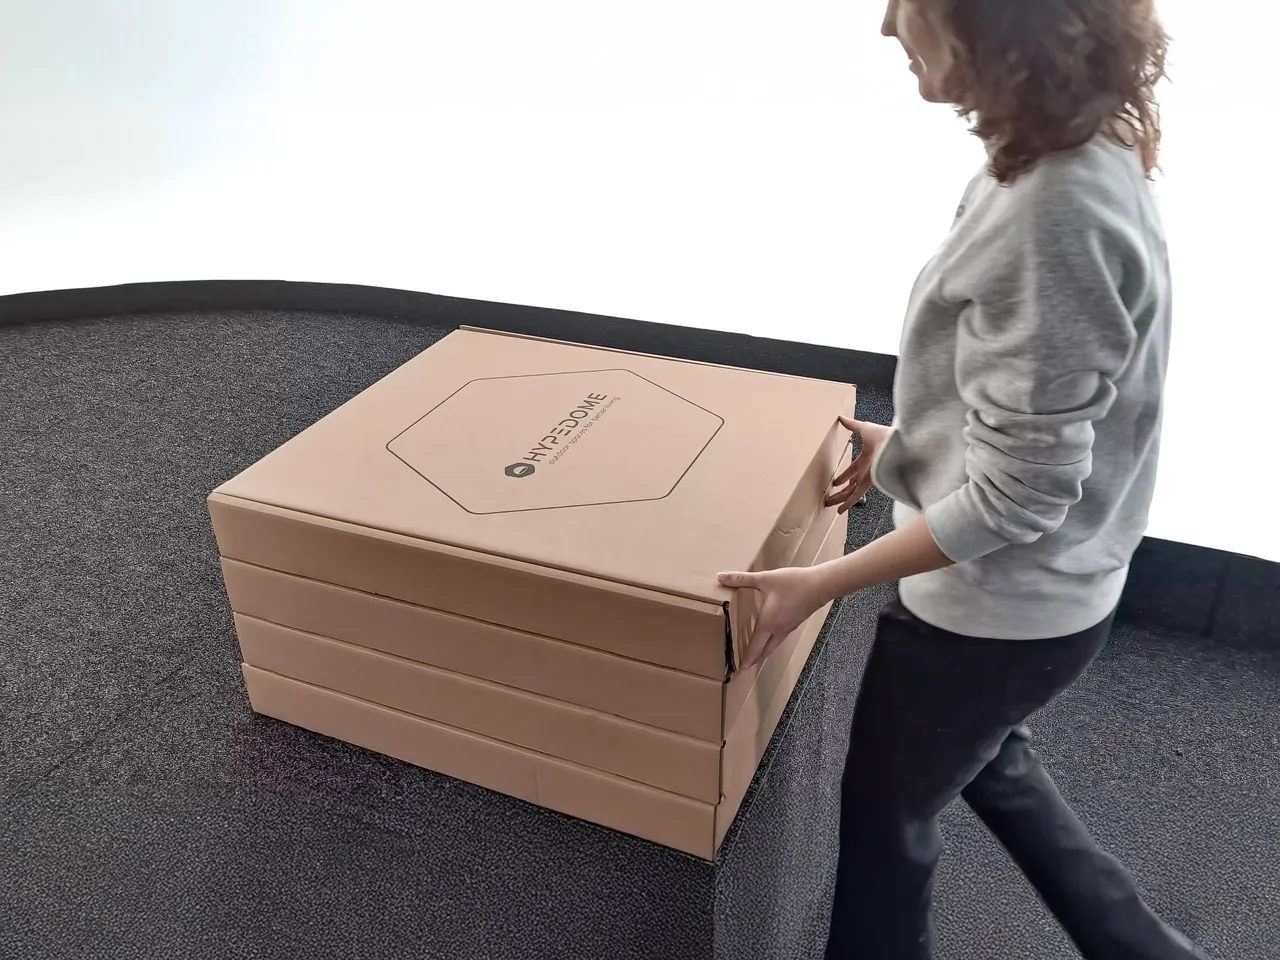
Your Hypedome delivery comes in two types of packages. First, there’s what we like to call the Big Box – the one that holds all the essentials: tools, entrance frame, membrane door, anchoring gear, and the rest of the must-haves to kick off the build. Alongside it, you’ll find a set of flat, wide “pizza-style” boxes, packed with the polycarbonate panels that form your dome. The number of these panel boxes depends on the size of your Hypedome:
- Hypedome Mini – 4 boxes
- Hypedome S – 4 boxes
- Hypedome M – 6 boxes
- Hypedome L – 9 boxes
Everything inside is grouped and labeled, so you can move straight from unboxing to action without second-guessing what’s what.
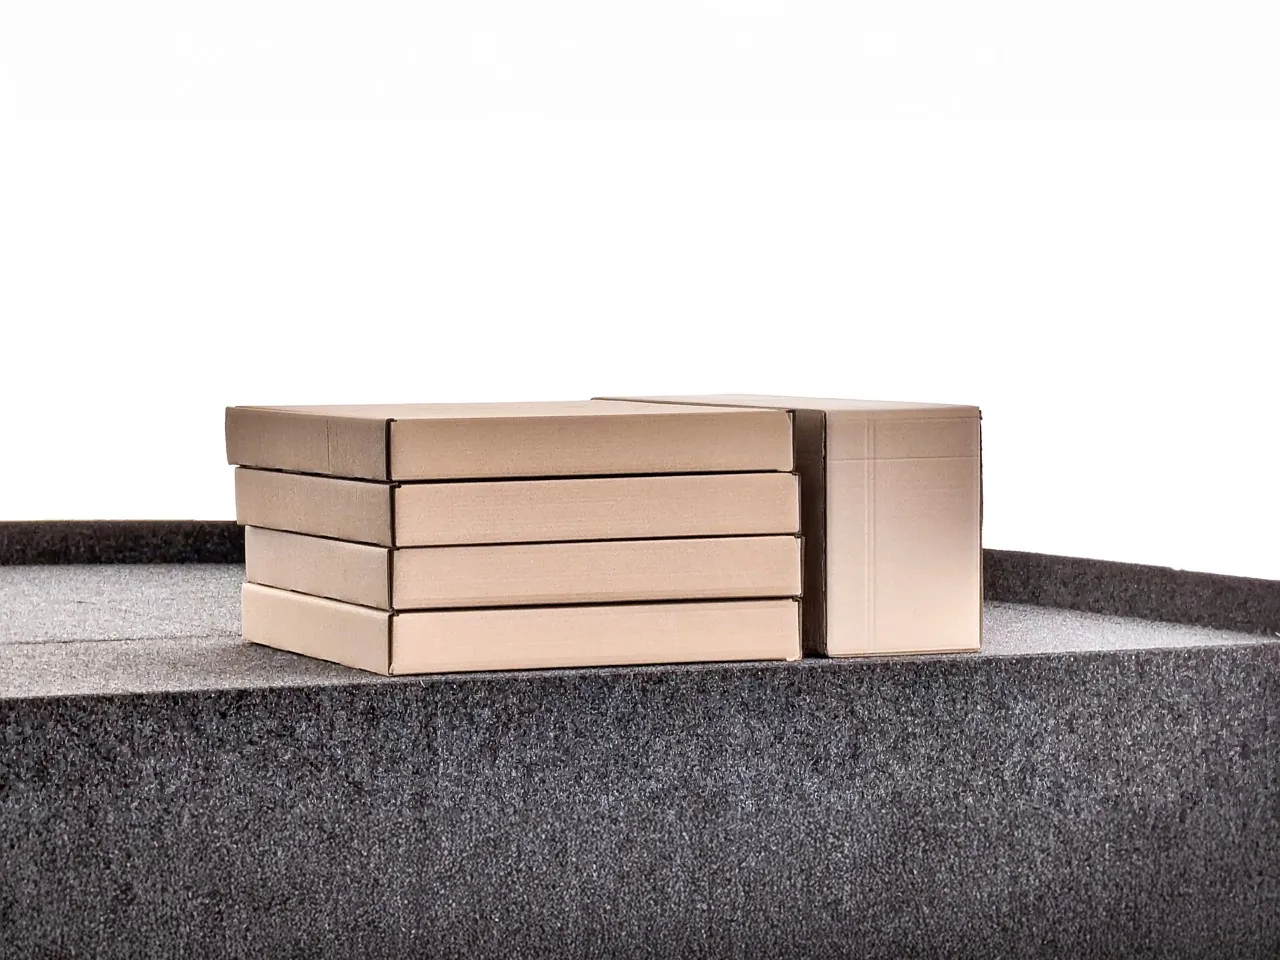
A full set of the Hypedome S boxes.
Start with the Big Box
Once you open the so-called Big Box, you’ll find all the key components that kick off your Hypedome build.
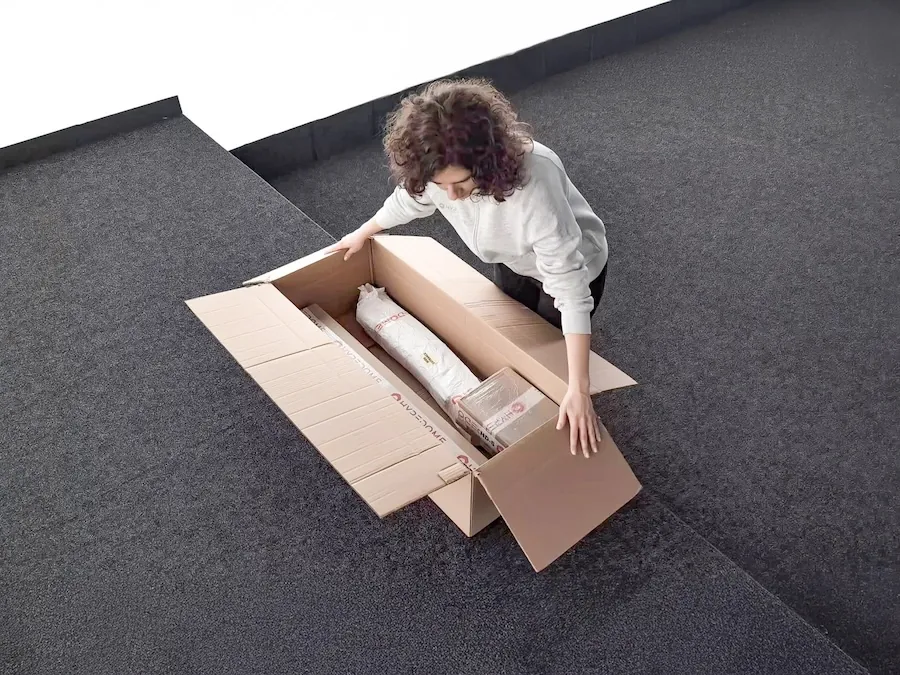
Here’s what’s inside, piece by piece:
- Aluminium entrance frame kit – the solid structure that forms your dome’s doorway and additionally reinforces the entire construction.
- Rollable membrane door – transparent, flexible, and fitted with two smooth-gliding zippers for easy access.
- Cable grommet panel – ideal for safely running cables inside without leaving gaps in your dome.
- Anchoring feet & screws – the standard anchoring solution, ready to secure your dome to wood, concrete, or decking (choose the suitable anchoring option while placing an order of your dome).
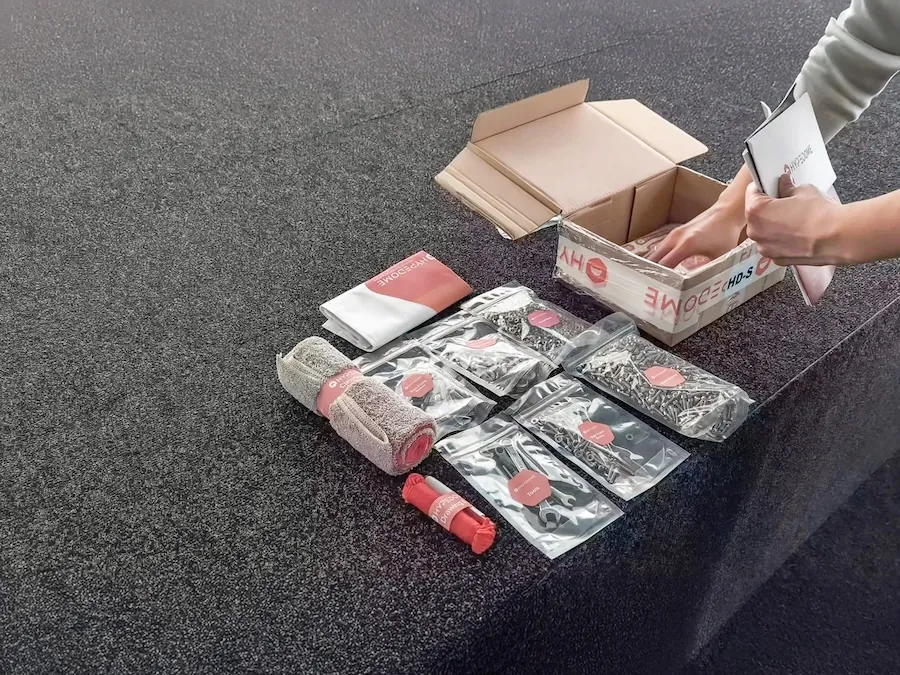
- Assembly Toolkit – includes a ratchet socket, screwdriver bits, and hex key (Allen wrench) to make your job easier.
- Screws and nuts – all clearly sorted, with extras included just in case (because yes, we’ve all lost a screw mid-build before).
- Ground marking kit – helps you outline a perfect circle on your deck, patio, or garden as a base for panel placement.
- Cleaning kit – handy gear to keep your dome looking spotless from the start.
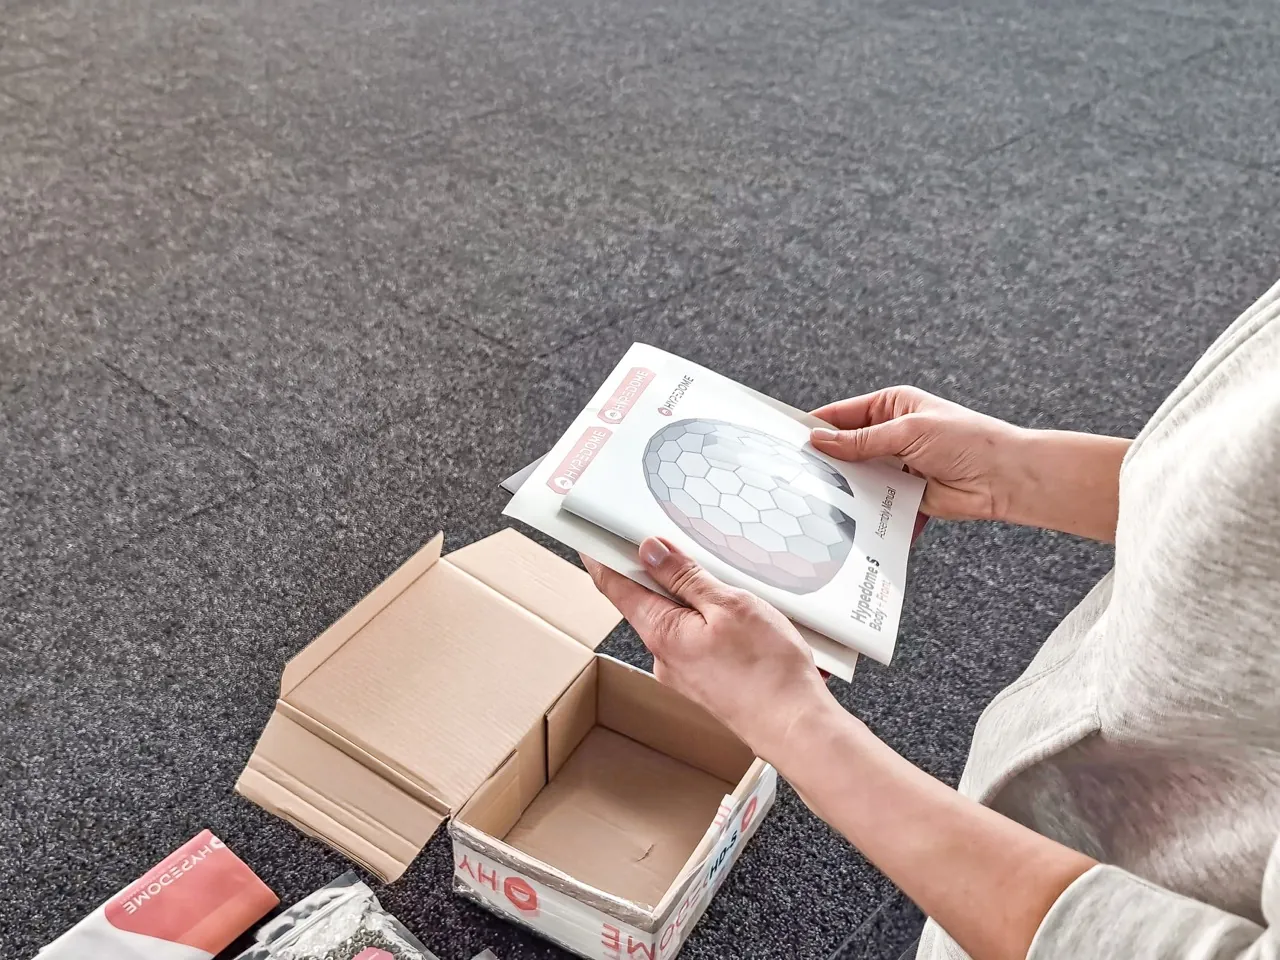
- Printed Assembly Manual – with QR codes linking to step-by-step video tutorials.
- Branded goodies – a little extra from us, just because.
Everything’s thoughtfully packed and labeled, making setup as smooth as possible from the moment you slice open the tape.
Unpacking the Panels
Inside the pizza-style boxes, you’ll find between 100 and 200 solid polycarbonate panels, depending on your dome’s size. These boxes are double-protected to keep everything safe in transit, and the panels themselves are covered on both sides with protective film to prevent scratches before installation.
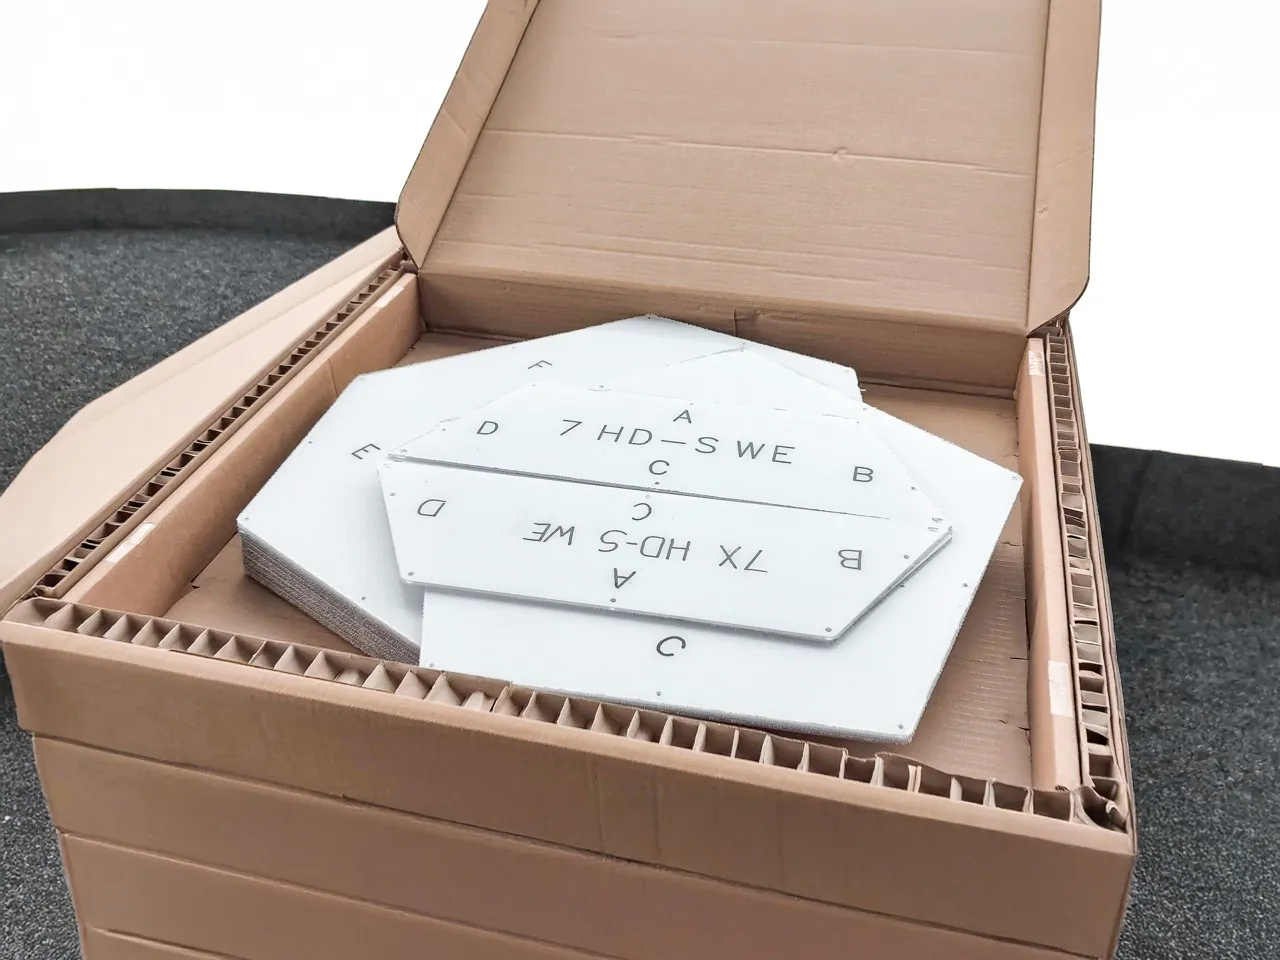
The panels come pre-grouped as Body and Front, which matters especially if you’ve chosen a two-tone dome like Mirror + Clear bay window. Each panel is also individually labeled and marked with edge descriptions, making it much easier to match the right panel to the right spot during the build.
Get Prepped: Read, Sort, and… Hydrate
Before you grab your tools, take a few minutes to get properly set up. Start by flipping through the Assembly Manual and watching the video tutorials – they’ll give you a clear idea of how things come together, step by step. Lay out your toolkit, anchoring components, and panels so everything’s within easy reach.
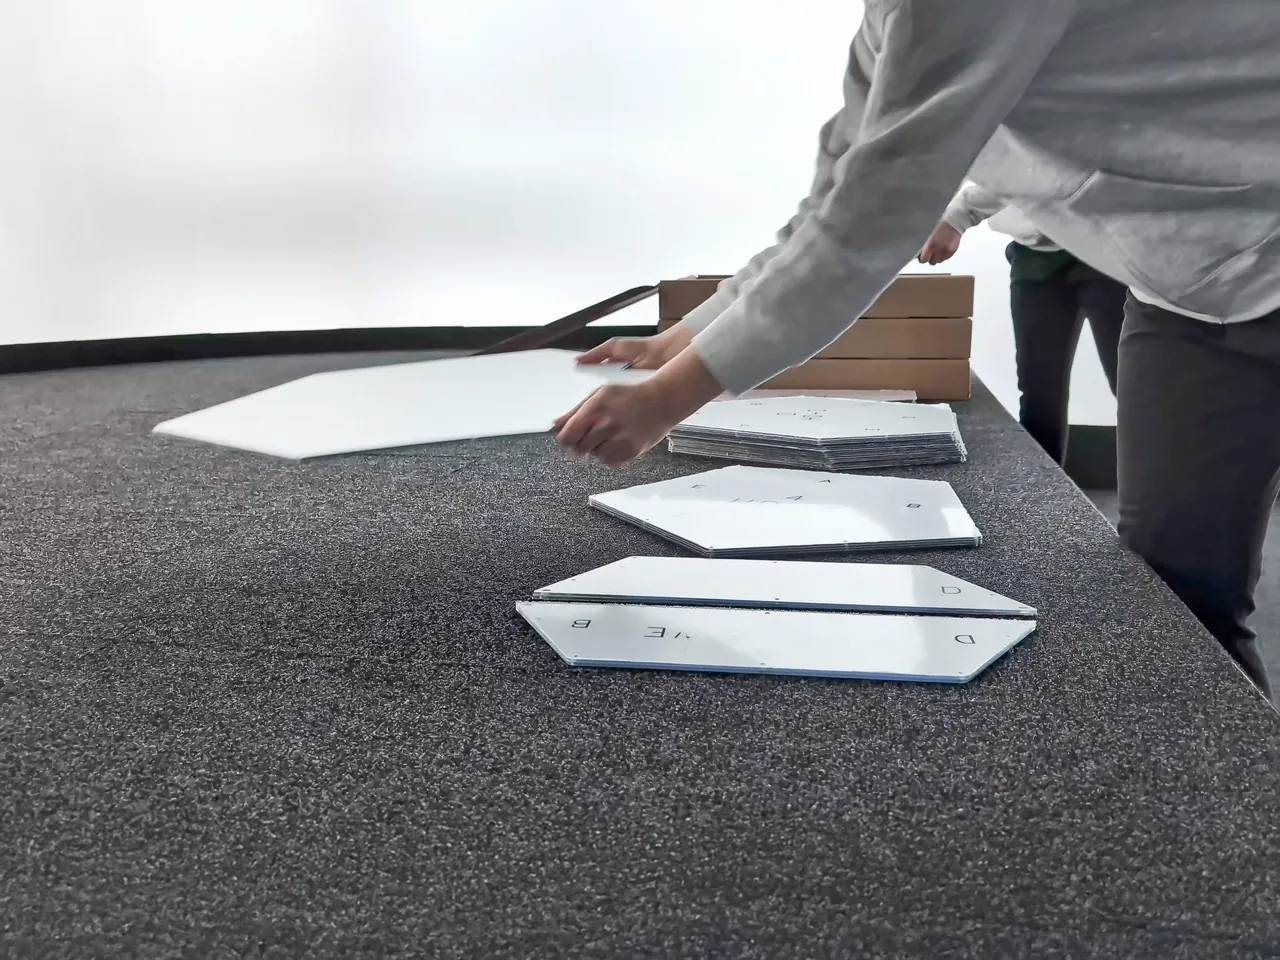
Then, take a moment to sort the panels by number – they’re clearly labeled, and this simple step will help things go faster once assembly starts.
Now’s also the time to mark out your dome’s footprint using the included ground marking kit. A well-aligned base makes the whole build smoother.
And here’s a pro tip: grab your favourite lemonade, iced coffee, or whatever keeps your energy up. It’s a hands-on project, and a cold drink goes a long way.
Grab Some Helping Hands
Hypedome is designed as a self-build, so no need for heavy machinery or a team of pros. But having a few extra hands around? Highly recommended. We suggest building with:
- 2 to 3 people total for Hypedome Mini and S
- 3 to 4 people total for Hypedome M and L
While two people handle the assembly, others can help by peeling off the protective film from the panel edges – a simple but time-saving task that keeps things moving smoothly. The whole process feels a lot like building a giant set of LEGO: intuitive, hands-on, and way more satisfying when done together.
From Box to Backyard Bliss
Once everything’s unpacked, sorted, and prepped, you’re ready to build – and that’s when the fun really kicks in. Panel by panel, your garden pod starts to take shape: first the base ring, then the walls, and finally the top. Seeing it come together is honestly a great feeling, especially knowing you did it yourself (with a little help from your crew).
Everything you need is in the box, and the whole build has been designed to be as smooth and straightforward as possible. No confusion, no weird tools – just a solid weekend project that turns into your new favourite spot. Whether it ends up as a garden office, yoga pod, or cosy little hangout, the dome is just the beginning.
And just when you think you’ve unboxed it all… bonus round unlocked. If you ordered any accessories – like flooring, lighting, or insulation – chances are a few more boxes showed up with your dome. Yep, that stack in the corner? It’s part of the plan.