One question we’re often asked is, “How easy is dome assembly?” Well, the good news is that you don’t need to be Tommy Walsh (UK celebrity DIYer) to build your DIY garden pod. Most Hypedome customers have no experience in building any type of structure but manage to assemble their dome with no trouble. We’ll walk you through the process here…
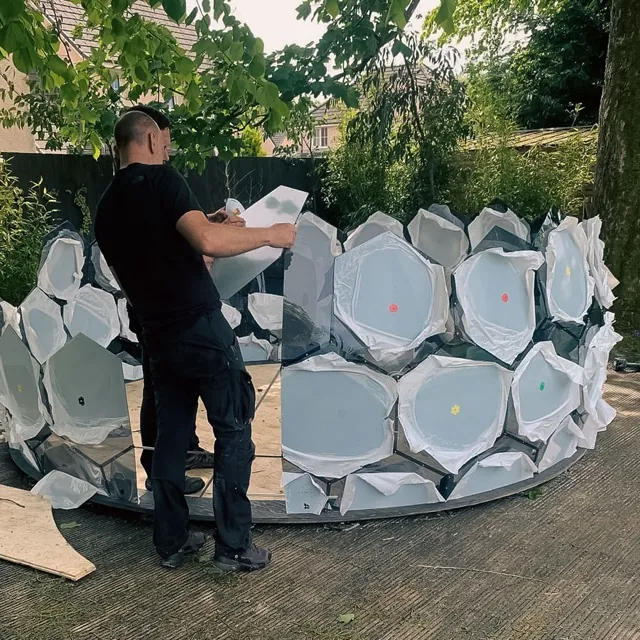
Table of contents:
- How Long Does it Take to Assemble the Hypedome Outdoor Pod?
- Tools Needed
- Content of the Hypedome Kit
- Step 1: Prep Your Ground
- Step 2: Mark Out the Exact Place
- Step 3: Build Your DIY Garden Dome Level by Level
- Step 4: Anchor Your Outdoor Pod
- Step 5: Carry Out the Big Reveal
- Hypedome Assembly – Video
- What About Accessories?
How Long Does it Take to Assemble the Hypedome Outdoor Pod?
Assembly is straightforward. The Hypedome S can be built by two people in about five-six hours and the process can be speeded up with a third person to help. The Hypedome Mini should mean even less time, while our largest model, the Hypedome M, will take around six-eight hours (three people needed). And in case you’re wondering, you can take down the dome in less than half the time if needed.
Tools Needed
The first thing to do when constructing your dome is to gather all the necessary materials to hand. You’ll need a:
- Tape measure
- 1.5m A-shaped ladder
- Sturdy stool
- Screwdriver (a powered one speeds things up)
- Hammer (if anchoring your dome with ground pins)
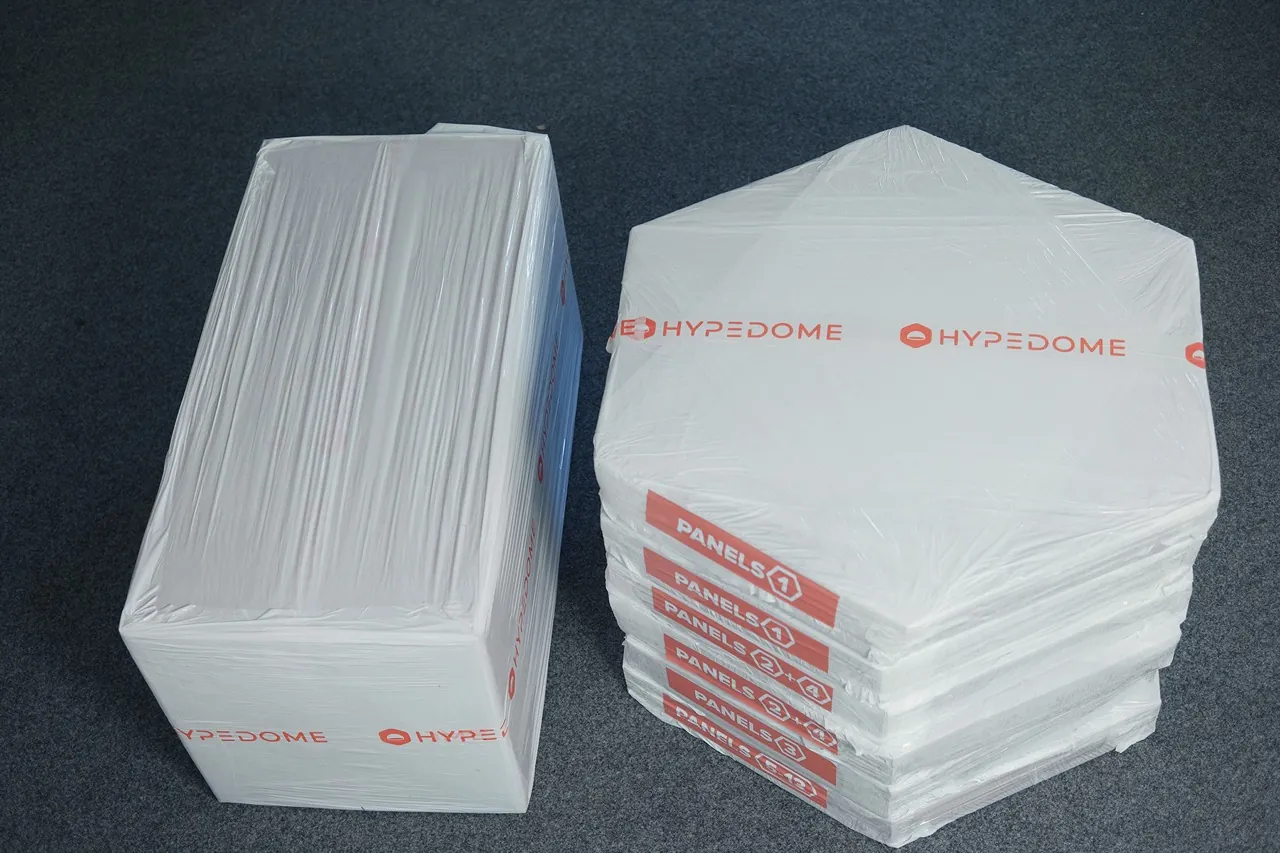
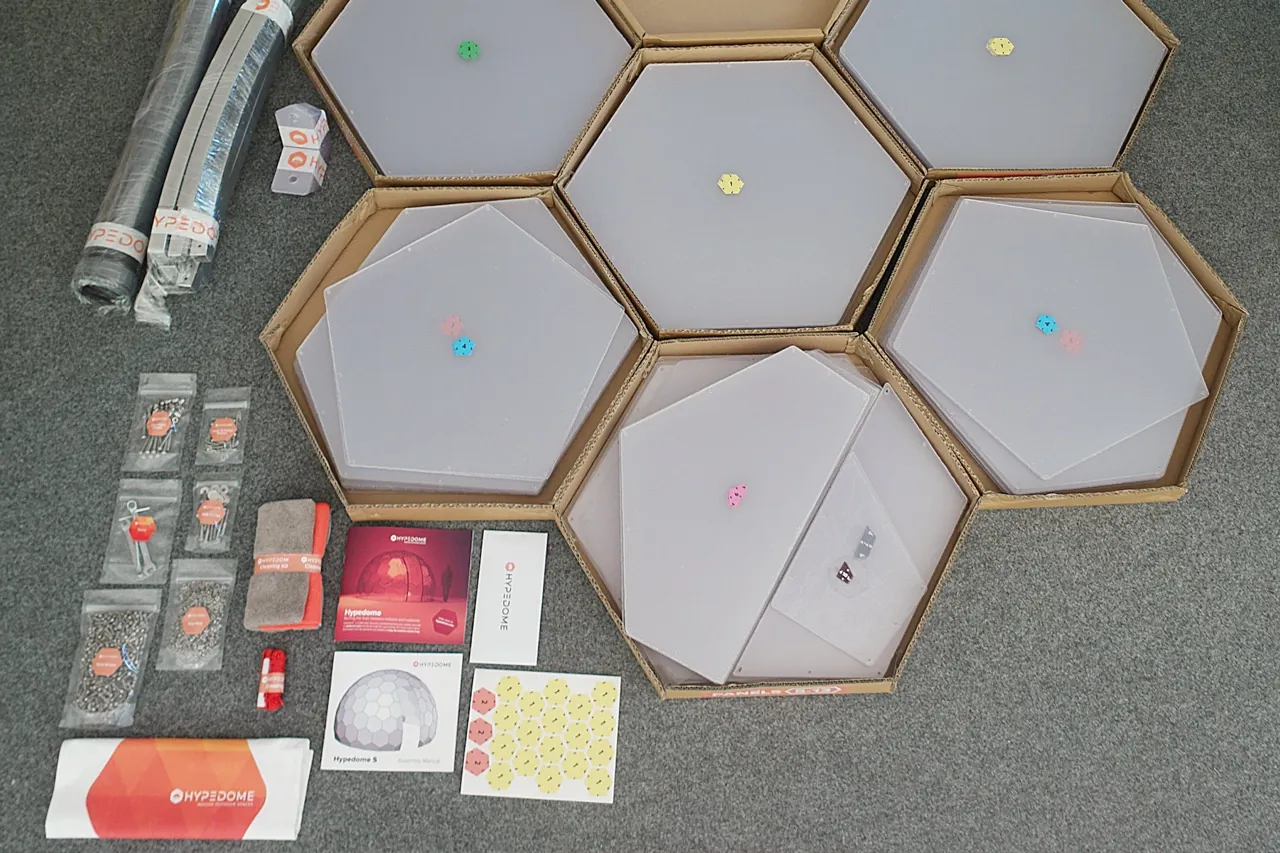
Content of the Hypedome Kit
Everything else is included with our DIY dome kit:
- 100+ to 150+ panels depending on your dome size
- Screws and nuts
- An aluminium entrance frame kit
- Anchoring feet
- Deck screws
- Other simple assembly tools
- Instruction manual with video tutorials (available by scanning a QR code)
Once you’re ready, follow these simple steps below.
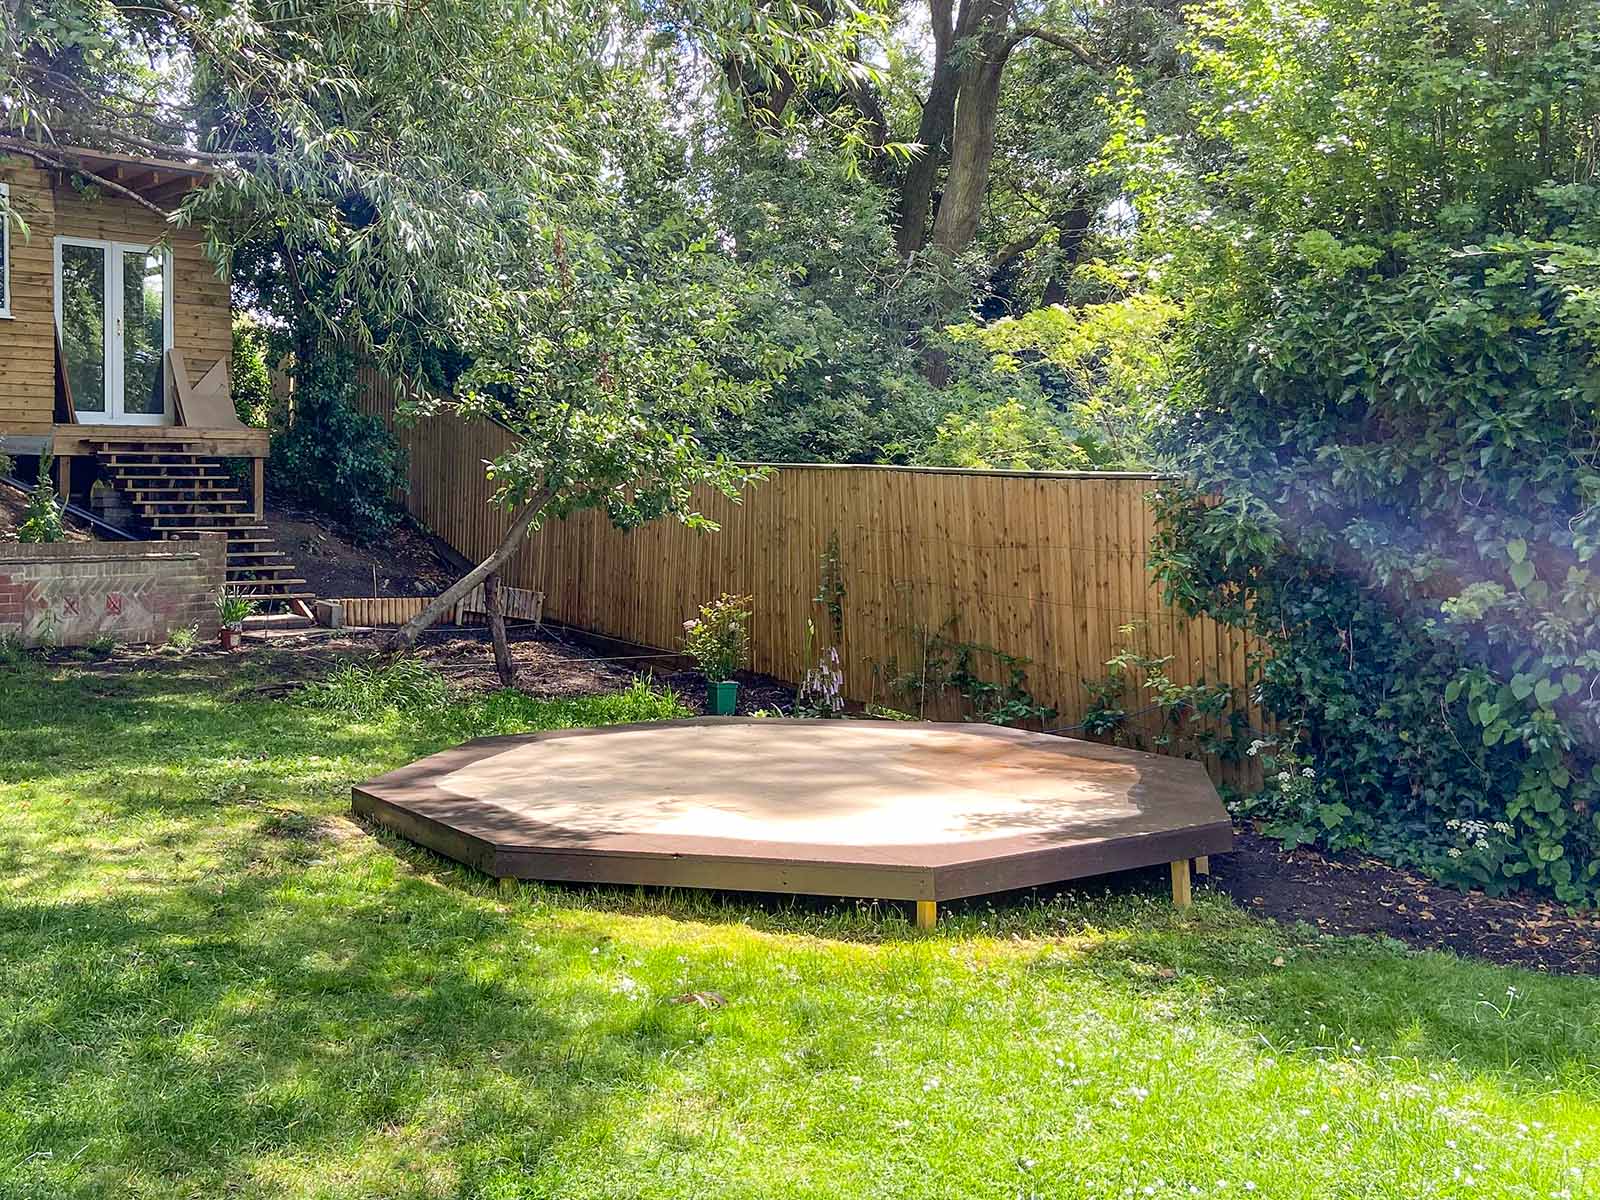
Step 1: Prep Your Ground
You can build your outdoor pod directly on the ground, e.g. soil or grass, or on specially prepared surfaces like decking, concrete, patio stones, etc. Whichever one you choose, make sure it’s as level as possible. A flat surface means a sturdy dome and also helps stop rainwater from seeping in underneath.
Step 2: Mark Out the Exact Place
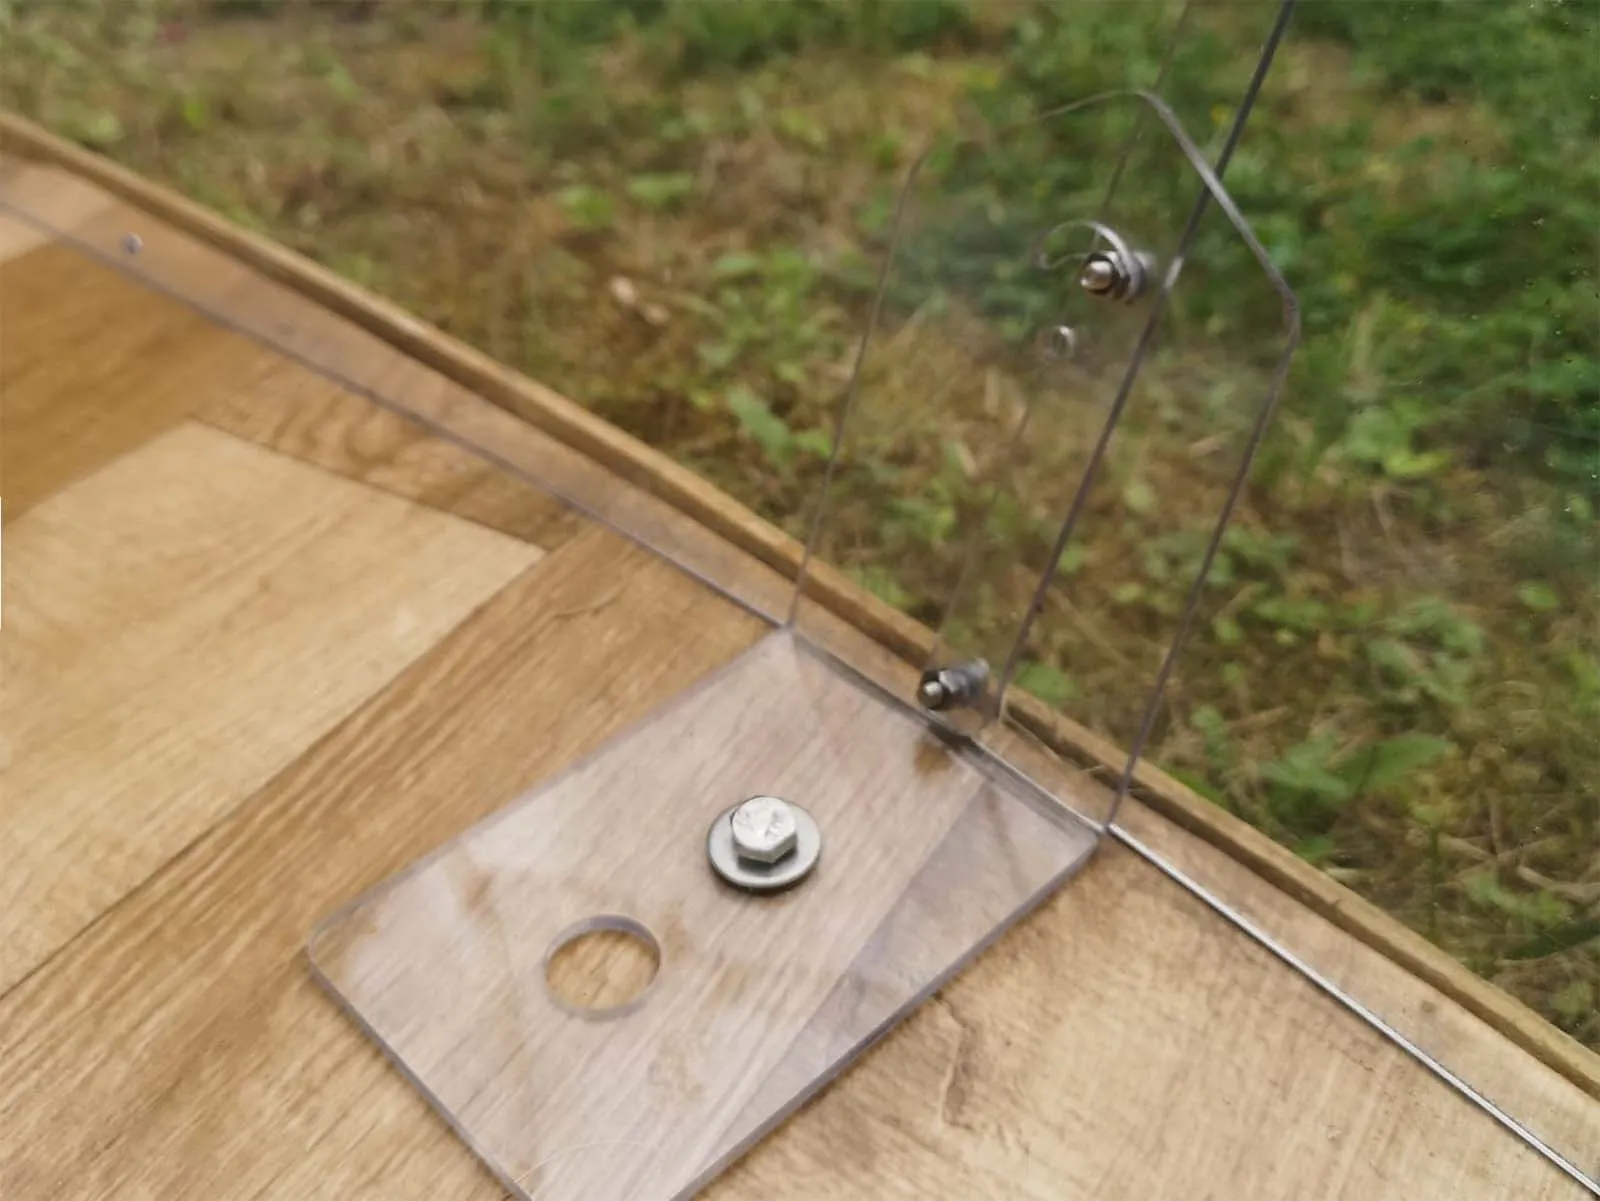
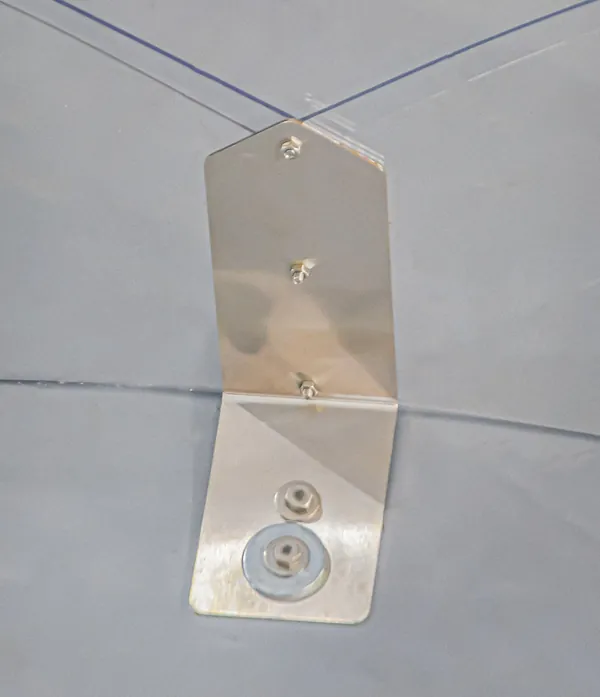
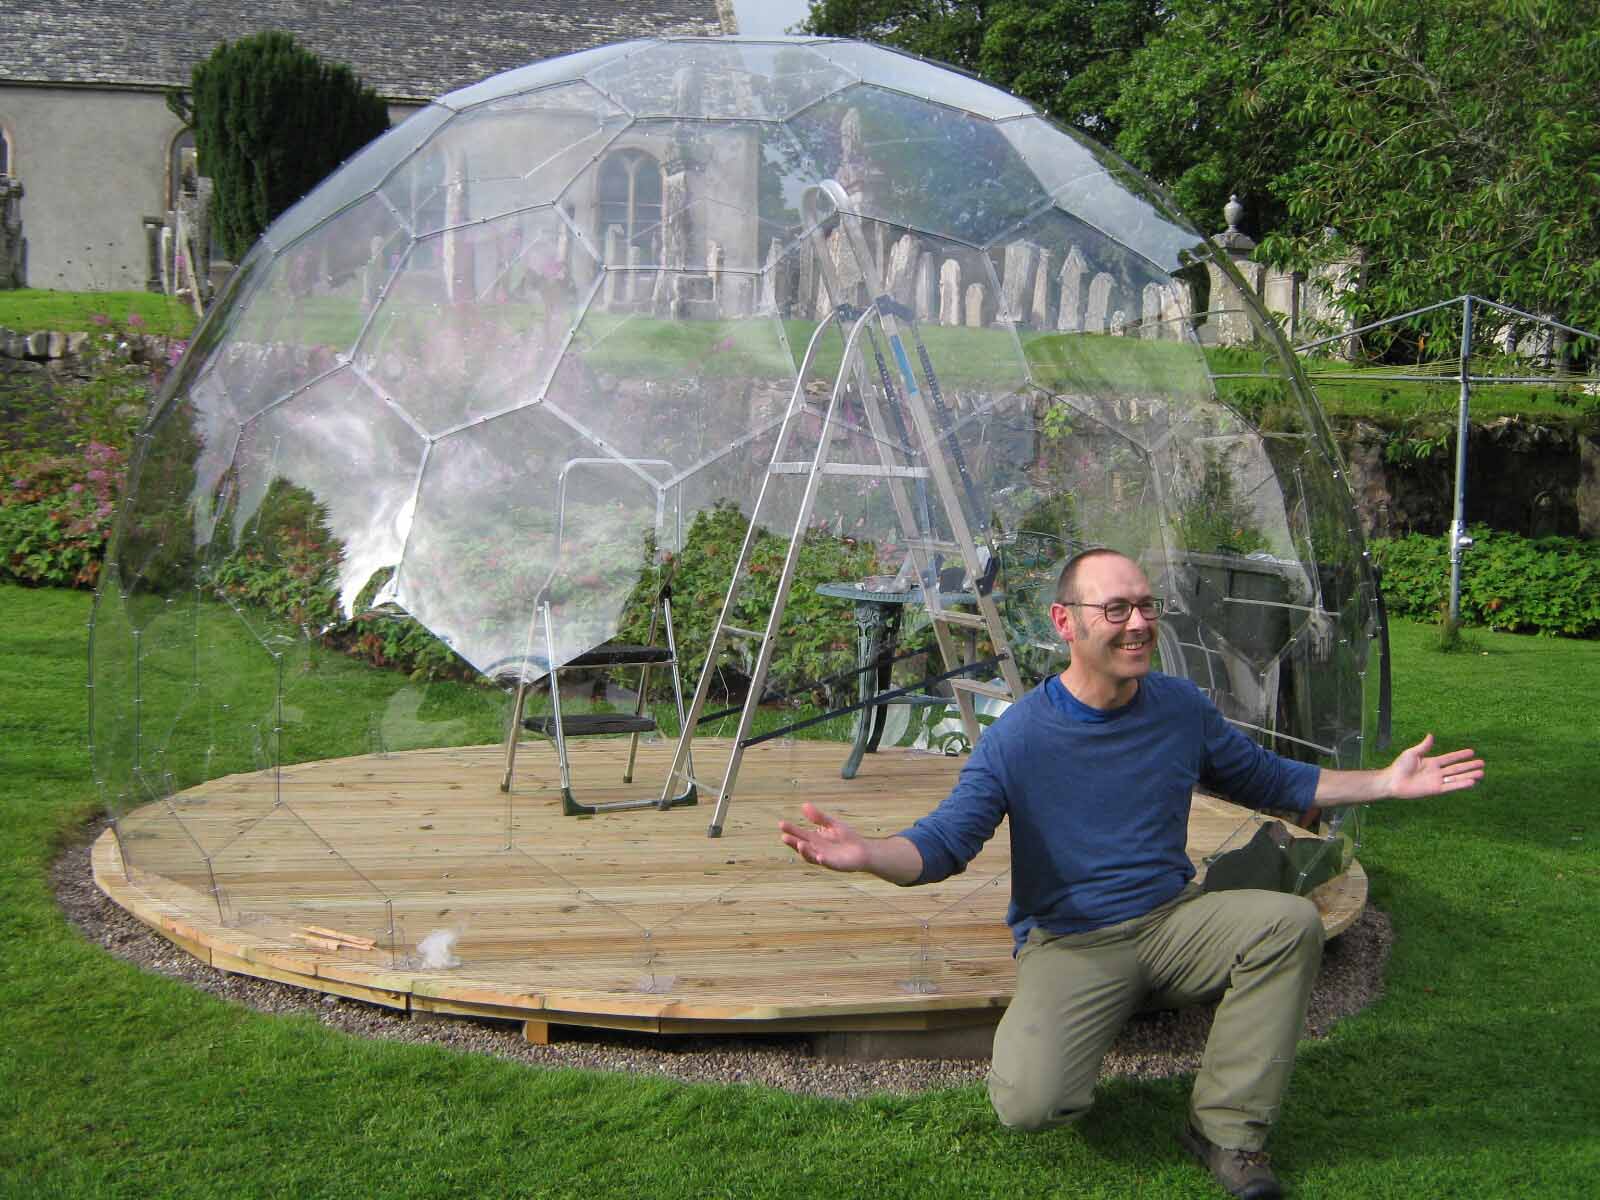
Mark the centre of your dome and create the perimeter using supplies included in our geodesic dome kits, ensuring the entrance is where you want it. Then set out the first layer of dome tiles along the perimeter. Each panel is numbered, and our instruction manual explains which order to place them (you’re very unlikely to go wrong). Before screwing the panels together, peel the protecting foil away from the edges. This makes the foil easy to remove once your dome is built.
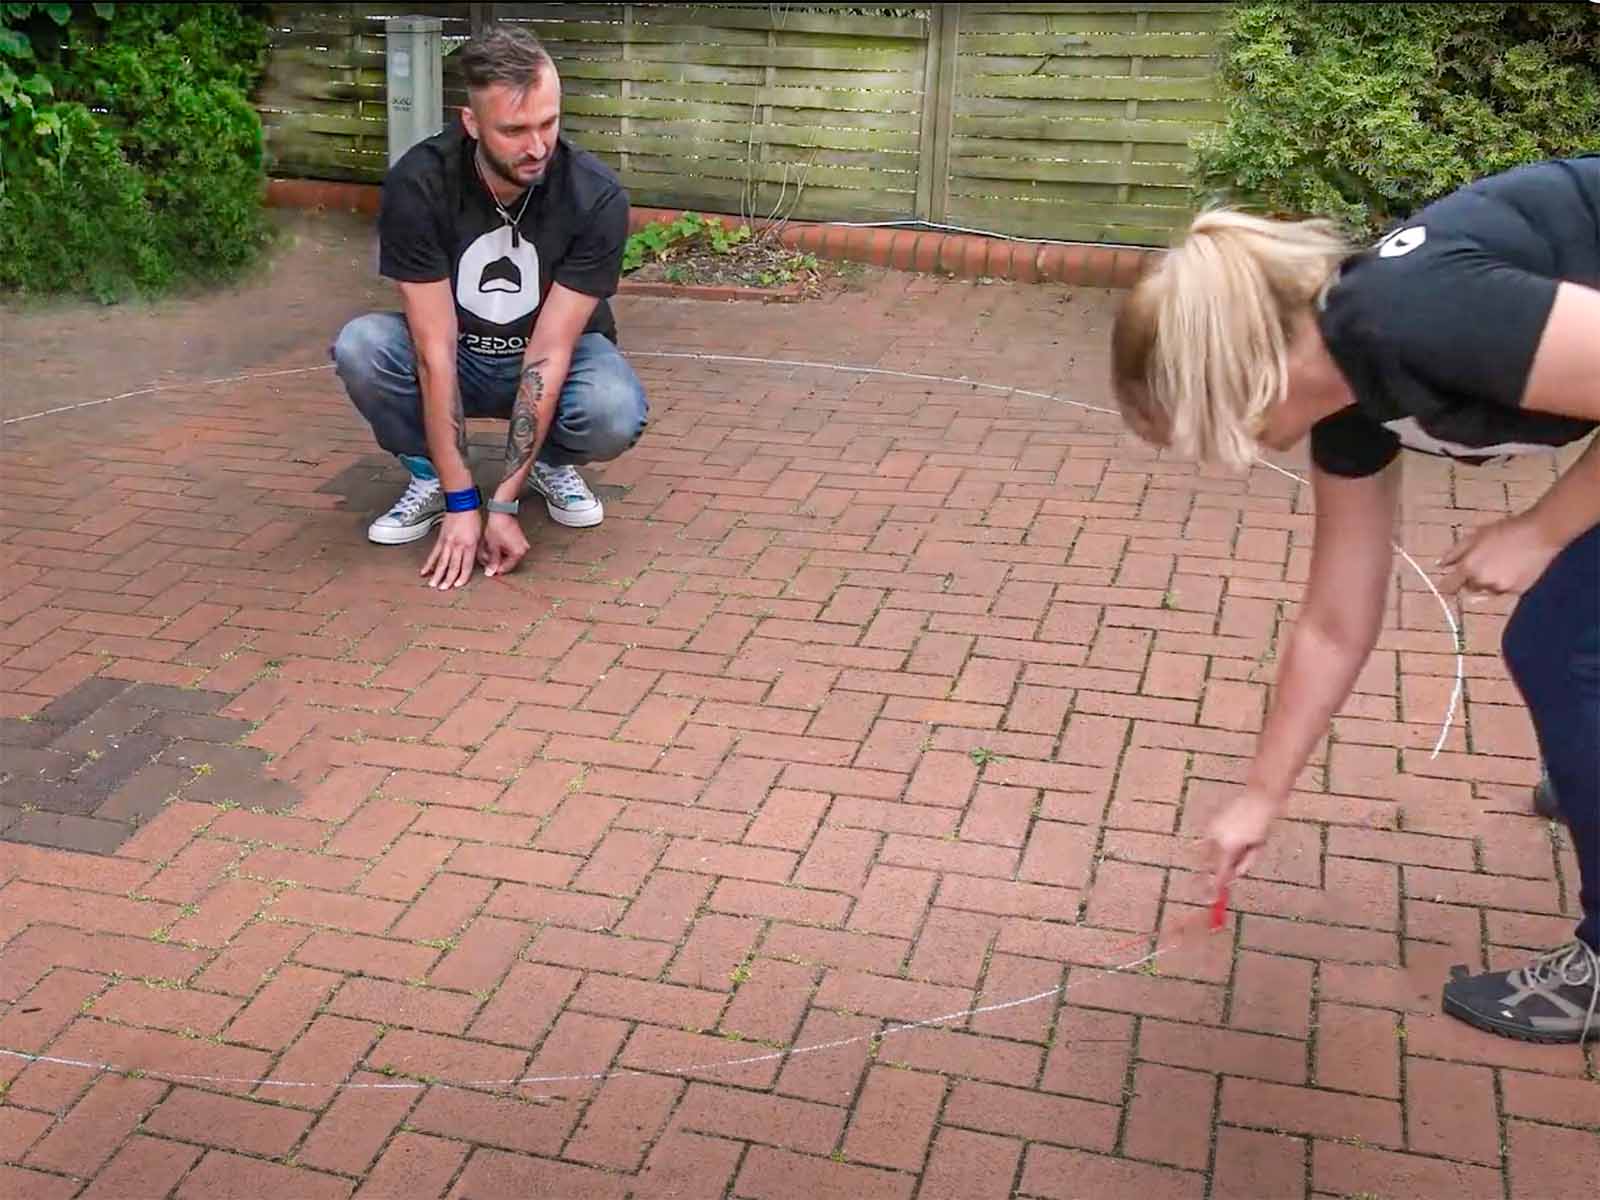
Pro tip: Many of our customers build their Hypedomes in a team of three. Two people putting the panels together, and one person peeling off the foil from the panels – often that person is also in charge of the manual, following the guidelines and supplying appropriate peeled off panels to the two screwing them together.
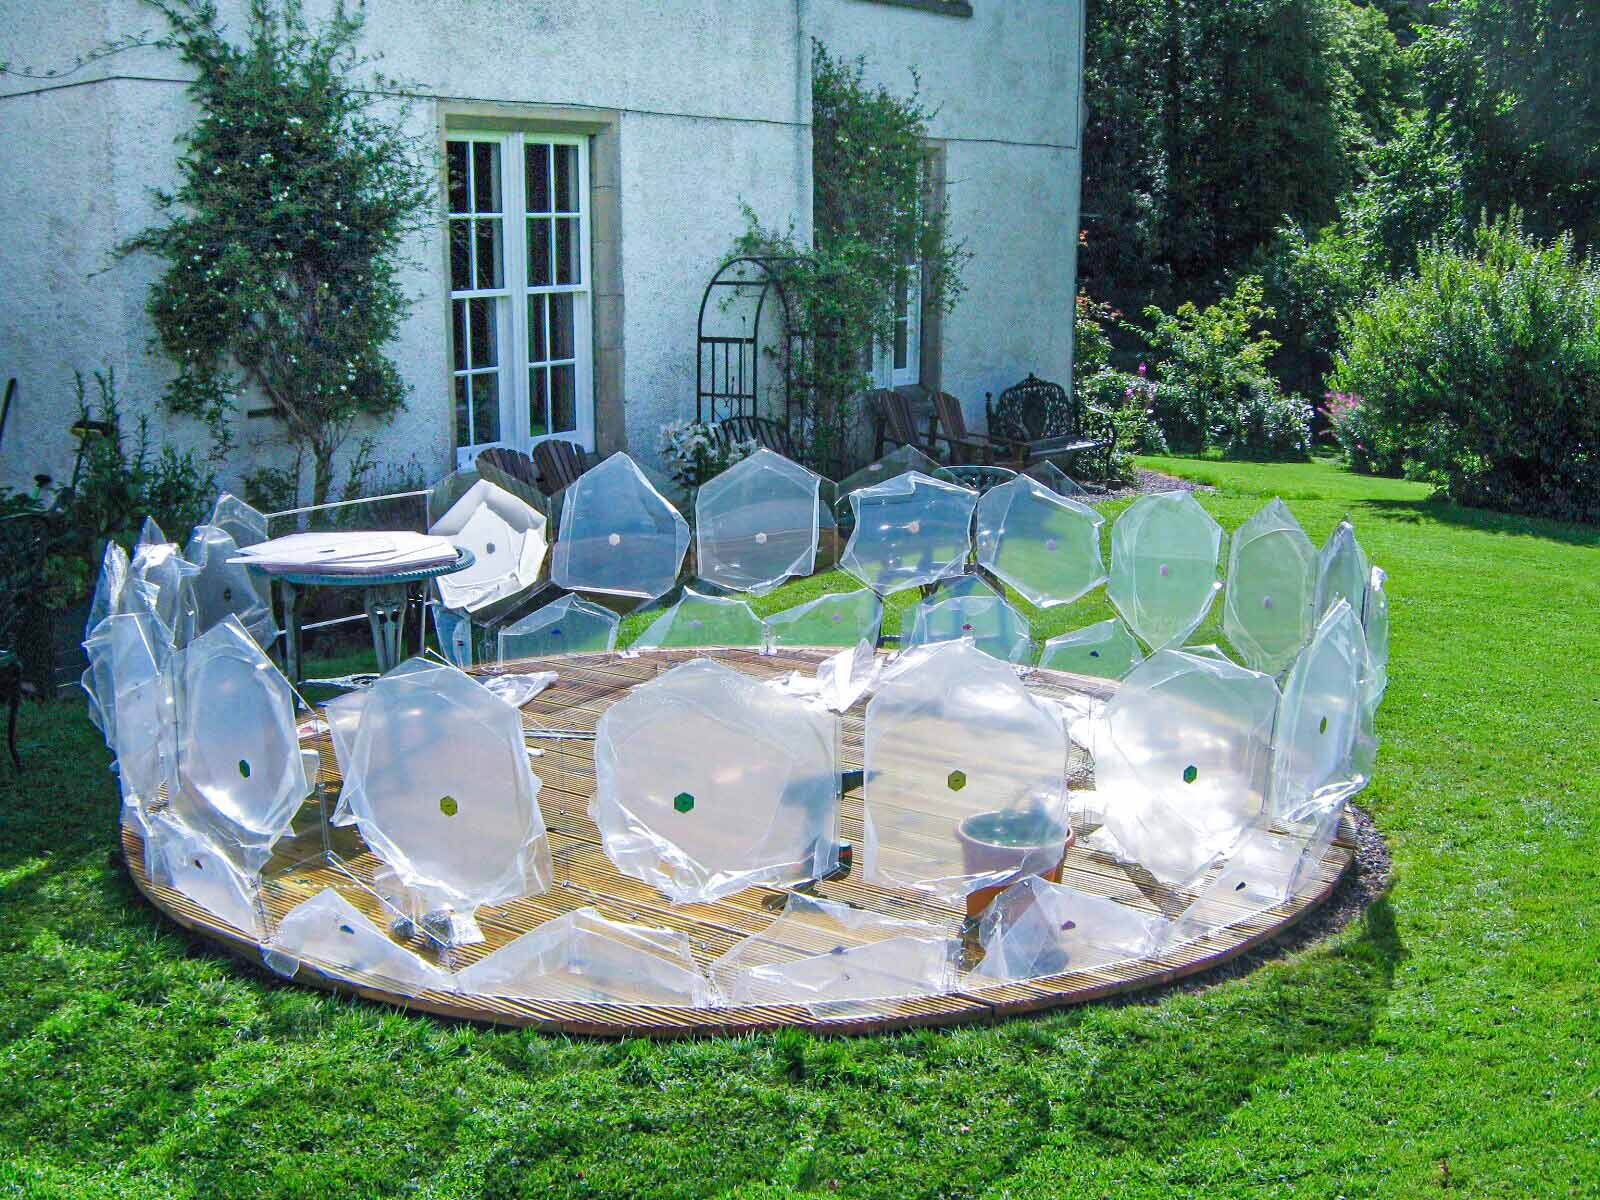
Step 3: Build Your DIY Garden Dome Level by Level
Once level one is complete, it’s time to put together the other panel levels. You’ll always work from the right-hand side of the entrance until you add the final panel, which forms part of the dome’s ceiling. As you go higher with your geodesic dome assembly, you may find an additional pair of hands useful. Once you’ve constructed all the levels, you’ll add your doorframe.
Pro tip: For smooth construction, make sure to build your dome on a day when it’s not too windy.
Step 4: Anchor Your Outdoor Pod
Once built, anchor your DIY garden dome firmly to the ground. Which anchoring option you choose depends on the placement of your dome. If it’s on decking, you’ll use deck screws, and if on grass or soil, ground pins are perfect. If your dome is likely to be subject to extreme weather (e.g. on a roof terrace), you’ll need to anchor it using our heavy-duty options.

Step 5: Carry Out the Big Reveal
After you’ve finished your outdoor pod assembly, the last step is to remove the protecting foil from each panel, so you can stand back and admire your Hypedome in all its glory. There’s nothing quite like the feeling of accomplishment you and your helpers will get – prepare for back-slapping, congratulatory hand-shaking and possibly the urge to jump up and down with glee.
Hypedome Assembly - Video
This handy video recorded by our customer Chris, shows many of the steps above – it’s well worth a watch before you begin building:
What About Accessories?
Once your DIY garden pod is built, you can retrofit Hypedome’s add-ons, such as privacy curtains, Hype.Wall panels or pockets, cosy carpet, our lighting kit and more. These can be added anytime you like.
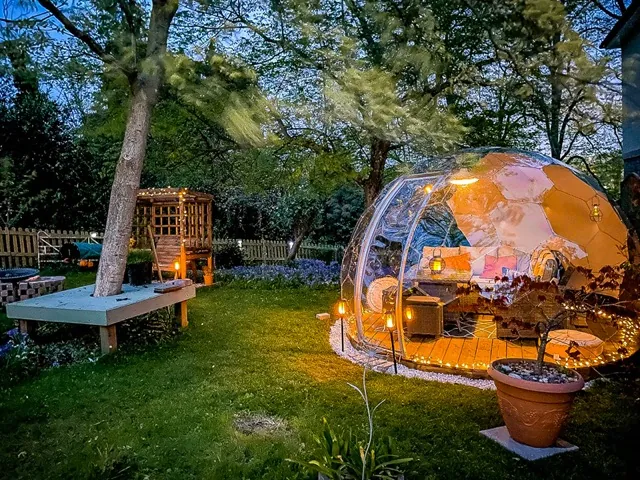
All that’s left for you to do is decide how to furnish and use your dome. Will it be a lounge area to relax in while enjoying a glass of wine? A reading nook for tackling that eagerly anticipated Lee Child novel? Or perhaps a yoga retreat where you can practice your one-handed tree pose? The choice is yours!